Construction method for fully lined Possum Fur Throws

Construction Techniques

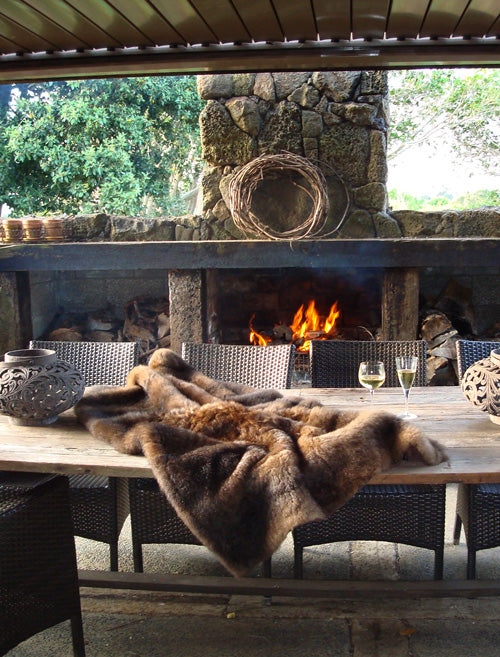
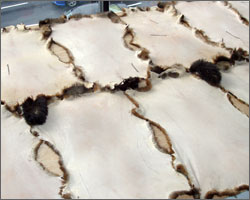
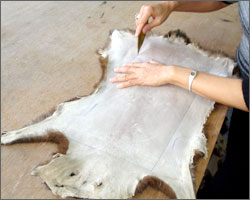
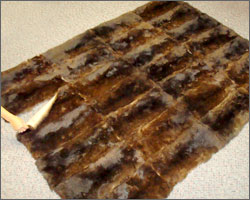
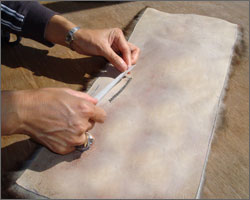
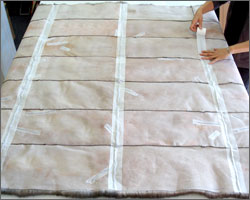
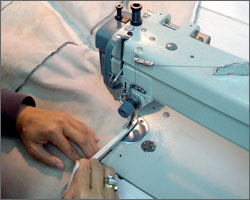
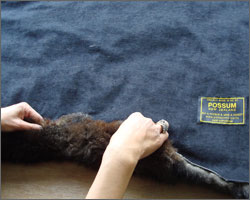
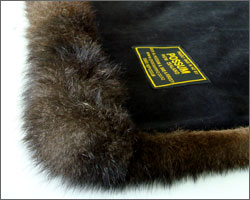
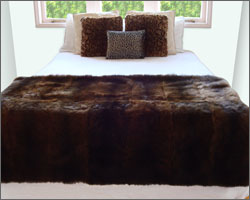
Wear New Zealand prides itself on its superior construction of our luxurious possum fur throws. Our point of difference is that we utilise the biggest, fluffiest “A” grade hides and incorporate unique production techniques and that all throws are made in-house to ensure a premium product that will last for years to come.

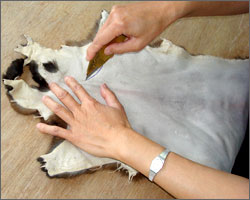
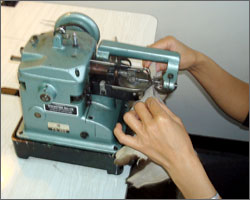
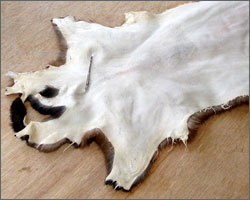
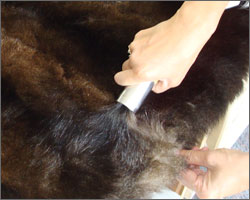
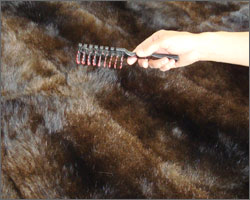
We have adopted the same techniques as former furriers from 50 years before, added modern machinery and topped it off with our specially formulated reinforcing techniques:

STEP ONE

1

Any obvious flaws or imperfections are located and are cut out of each hide by hand using surgical precision scalpels.

STEP TWO

2

The flaw is then sewn up through a special machine called a “cup seamer” which is a fur joiner.

STEP THREE

3

The result of the  “cup seamer” repair.

STEP FOUR

4

The hides are then wet and gently stretched to shape on boards to “iron” out overnight so that the hides lie sharply square when the throw is complete. This process was a key step for the old furriers and it ensures that the furriest part of the hide, the mid-section, is maximized.

NOTE: Many manufacturers miss out steps 1 – 4 as it requires specialist skills and time. Failure to do so will normally result in a “lumpy” looking throw with flaws remaining in the hides. It takes many hours longer to prepare hides in this manner than cutting straight into a hide, as we do not take shortcuts but the results are well worth it.

STEP FIVE

5

The pattern is then put on the hide and traced around. You will note that we do not mark too close to the side edges, as that is the least fluffy and least strong part of the hide. The rectangle is then hand cut by scalpel.

STEP SIX

6

All pieces are laid out and painstakingly eye matched for colour and texture to ensure all panels blend into each other well as a finished product.

STEP SEVEN

7

Pair text with an image to focus on your chosen product, collection, or blog post. Add details on availability, style, or even provide a review.

STEP EIGHT

8

All the pieces are then cup seamed together and then cross joins are taped for even more reinforcing.

STEP NINE

9

Our lovely mock suede and rot proof lining  is then sewn to the hides along with reinforcing fabric binding  to ensure the  side edges do not come away or flute out when the throw is being constantly handled in normal everyday life.

STEP TEN

10

The throw is now bagged out and the fur is rolled back onto the lining side and stitched.

STEP ELEVEN

11

The result is stunning – a generous fur rollback that caresses your chin when the throw is placed on a bed. It takes more fur to construct in such a manner but the throw is super strong with this time consuming construction method. The result is spectacularly luxurious. Your throw will now look great on both the top side and the underside.

STEP TWELVE

12

Excess fluff is vacuumed off.

STEP THIRTEEN

13

The throw is given a brush.

STEP FOURTEEN

14

Wow, it’s ready to impress! A well reinforced décor item, that will look and feel great for years to come.

NOTE: Many manufacturers leave out steps 1, 2, 4, 7, 8, 9 and 10. We know this as Wear New Zealand has a repair service and a lot of this work comes from clients’ throws made elsewhere, that are in a bit of a sad state and which we re-build.